 Hofner 12-String Archtop - Loose Braces and Neck Reset Hofner 12-String Archtop - Loose Braces and Neck Reset
I have a client who loves Hofner archtops and semi-acoustics
and brought this to me one day for a set up. Upon quick inspection
I noted that the top was falling in and surmised that there were
loose braces inside. It also looked as if it could use a neck
reset. I'd only know after I did the work on the top if I needed
to change the angle of the neck.
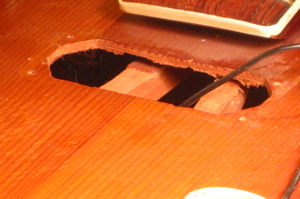
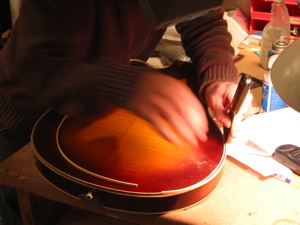
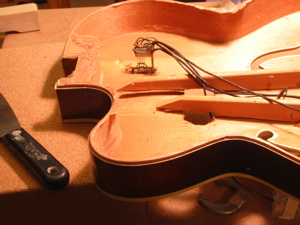
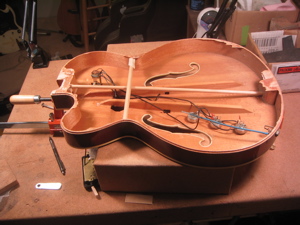
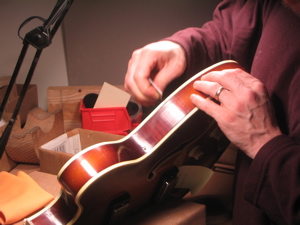
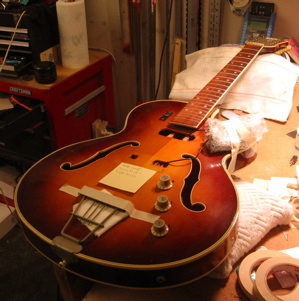
I first removed the pickups and indeed, the braces were visibly
loose and pulling away from the top. I wanted to be the least
invasive as possible and was hoping to be able to clamp the braces
through the pickup holes, but I soon realized that it would be
impossible to do that effectively and the back would have to
come off. I also knew that re-gluing the braces would distort
the geometry of the guitar somewhat, and I have to figure a fix
for that as well.
I removed some hardware and decided to try and remove the
neck dry, without any steam. Fortunately, these Hofners, and
other German brands of the same era had a tenon neck joint
that was simply glued in with hide glue, so I began to separate
the neck joint with my custom putty knife and it came apart pretty
easily.
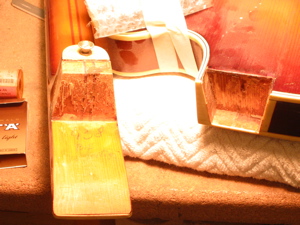
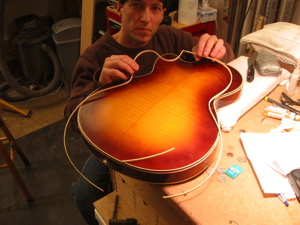
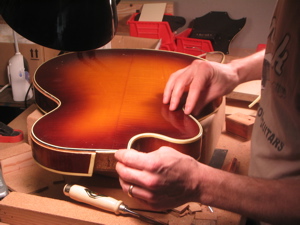
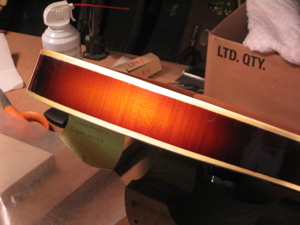
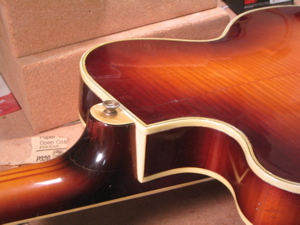
To remove the back I would have to first remove the first layer
of binding, so I took my Exacto knife and scored along the
edges of the outer layer of binding, both on the back and the
sides. I then took my putty knife and began to separate the binding,
which fortunately came off fairly easily in two pieces and
in good shape, so I would be able to reuse it.
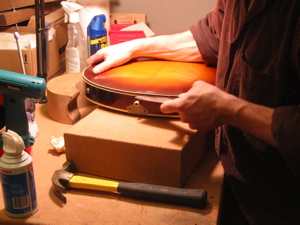
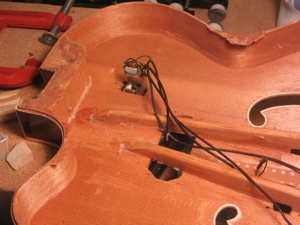
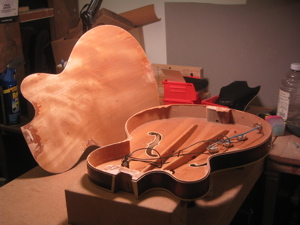
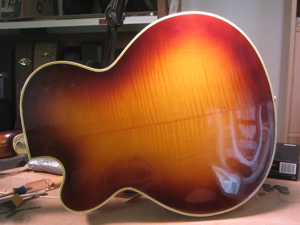
I knew the back was laminated and that there was a danger of
some tear-away of the wood, so I very carefully began to separate
the back from the sides. I did get some damage, but it was minor
and would be invisible when repaired. Upon inspection I realized
it would have been impossible to glue the braces correctly without
removing the back as one of them needed to be pushed a little
sideways in order to get it into the proper position. Not only
that, but the bracing separation was major and I had to be able
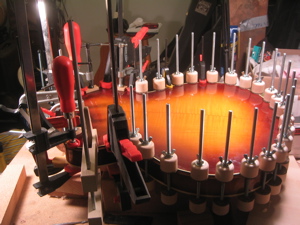
to get the glue into every spot that I could. I glued and clamped
the braces and moved onto the back, which needed some attention
because of the lamination becoming separated in some areas, so
I glued and clamped those areas.
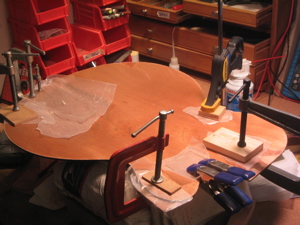
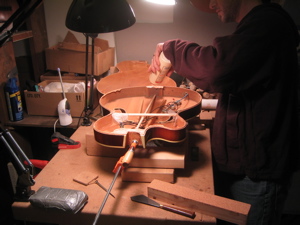
After letting it dry for a day I removed the clamps. I knew
there would be some distortion of the sides after gluing the
braces back into place because of the severity of the distortion
of the top, and therefore the back wouldn't fit properly. After
careful consideration, combined with the fact that there was
already a hole in the end block of the guitar where the tailpiece
attached, I was able to slide a dowel through the hole all the
way up to the neck block. I then clamped it in such a way as
to push on the dowel and expand the length between the neck block
and the end block. I also knew doing that would distort the sides,
so I put another dowel in there to expand the waist of the body...and
it worked! The back appeared to fit just about perfectly. I would
be able to slide the long dowel out the end block hole and I'd
be able to fish the other one out of one of the ƒ holes.
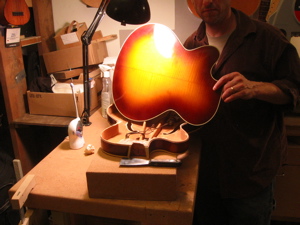
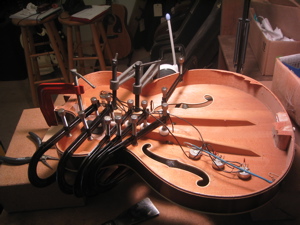
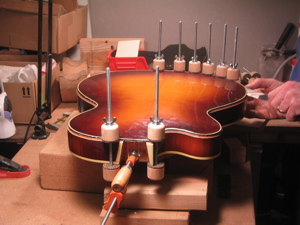
I began to glue the back on using TiteBond and spool clamps,
end block and neck block first to make sure my length was correct,
then worked my way around the sides. I cleaned up any excess
glue, then left it to dry overnight.
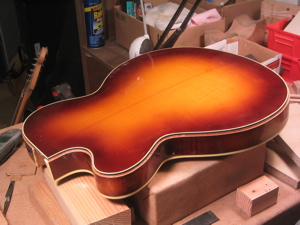
The next morning I removed the clamps and was pleased to find
everything where I wanted it. I scraped off any excess glue with
a sharp chisel. I also cleaned off any old dried glue on the
binding. I then masked the finish around the binding slot with
drafting tape so that it would be safe from the binding glue,
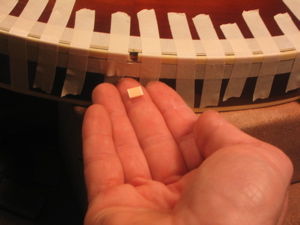
which can ruin a finish. I fit the binding in the binding slot
and it fit very well except for a gap at the end block. I expected
that, as binding shrinks over time. I'd slip a little piece of
binding I had laying around in there and it would be barely noticeable.
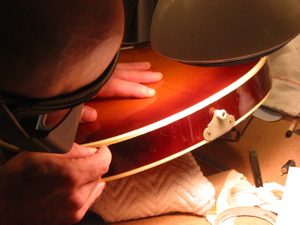
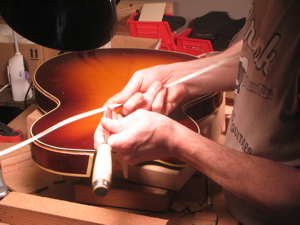
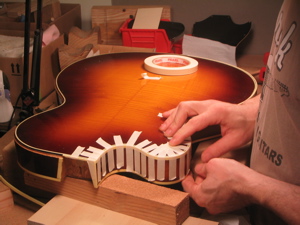
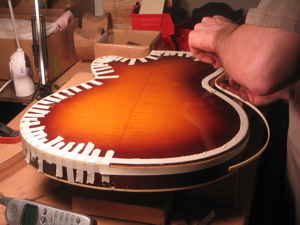
I began to glue in the binding, cleaning off the glue and taping
the binding tightly into place as I went with more drafting tape,
which is very easy on the finish, and worked my way around the
body until it was glued and taped very snug. Then I fitted
a piece of binding in the gap and glued and taped it in there.
Then I left it to dry overnight.
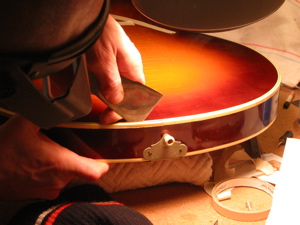
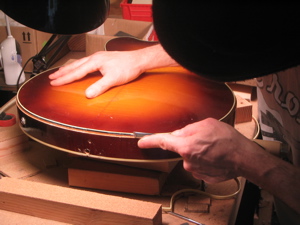
The next morning I removed the tape and scraped any excess glue
off. The binding needed to be scraped a bit to make it flush
with the sides and back, which I did with a razor. Once that
was done I did some touch-up on the body to make it look and
feel like nothing happened. I then sprayed some amber lacquer
on the binding to make it match the aged binding on the top (sorry,
no pictures of that!). I then proceeded to build up the lacquer
on the binding and where it meets the body so I'd be able to
smooth it out and make it look untouched. That took a few days
of "spray a coat, let it dry a few hours...repeat another couple
times...next day same".
Once the lacquer was built up I sanded it down and evened out
the finish around the back binding. Then I buffed and polished
the finish out and it looked nearly undisturbed, except upon
very close inspection. The body was done!
Now onto the neck. I had to make sure the angle would be correct.
After fitting it in the neck pocket, I knew I needed to reset
the angle slightly. After some careful sanding I was able to
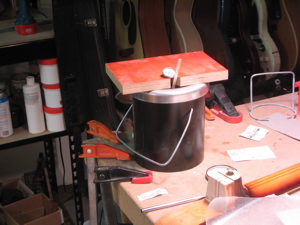
get it just where I wanted it, so I fired up the glue pot. These
types of neck pockets can be tricky because of the loose tolerances,
so I had to put a shim in one side to tighten it up. I glued
up the neck, clamped it, cleaned any excess glue and set it alone
until the next day. In the morning I removed the clamp and cleaned
any dried glue off. I sighted down the neck and saw that the
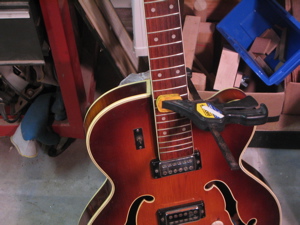
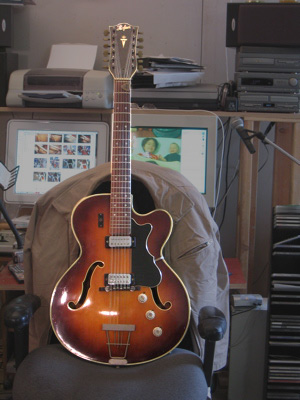
reset was a success. I then re-installed the hardware and strung
it up. I needed to take a little off of the bottom of the bridge,
but otherwise it was great. The action was low, it didn't buzz,
and it sounded fantastic.
The owner of the instrument was all smiles when he took a look
at it and even more so when he started playing it! He was very
pleased with the results and glad he had spent the money to restore
this vintage guitar back to playing condition.
Other mods, repair, and custom work available
as well.
To find out more, email me! |